Milwaukee Packout Setup Guide for Photographers: Step-by-Step Customization
Setting Up Your Milwaukee Packout Photographers Edition: The Complete Guide
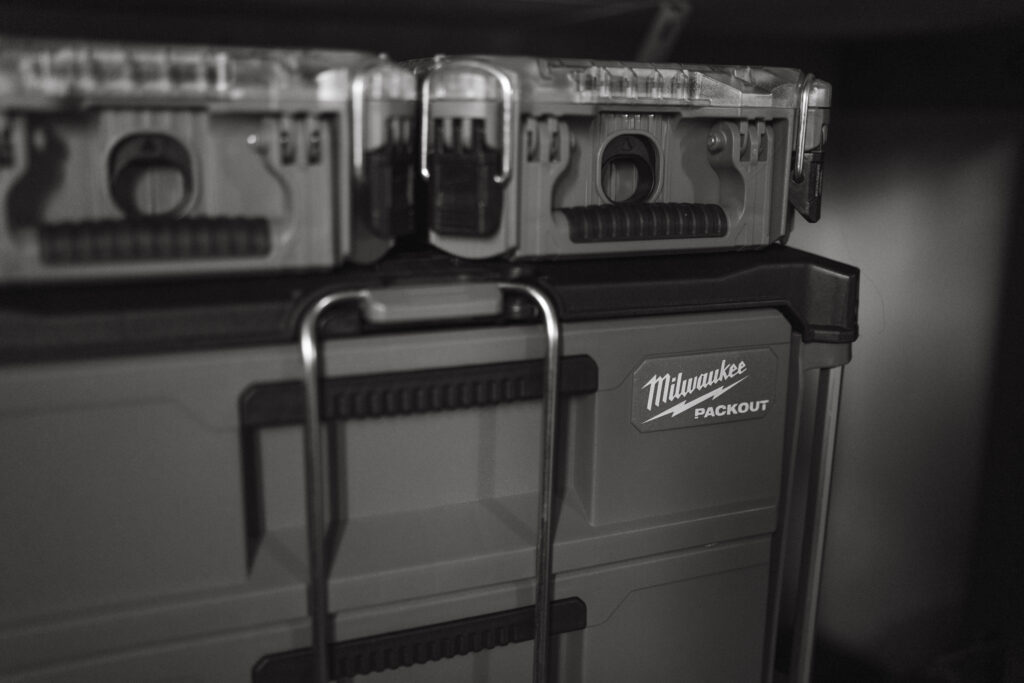
Looking for the ultimate gear setup that keeps everything secure, organized, and within reach? The Milwaukee Packout Photographers Edition is the solution! With a modular, stackable system originally designed for contractors, this setup adapts perfectly to the needs of photographers and videographers. Here’s a breakdown of each component and how I’ve customized mine for maximum efficiency.
Step 1: Choose Your Base Milwaukee Packout Components Watch my setup in action!
The Milwaukee Packout line includes several styles and sizes of boxes, totes, and organizers, so choose what best fits your photography and videography needs:
Rolling Toolbox
Best for large, bulky items you’ll need on most shoots. This base box provides a sturdy foundation and enough room for the following:
- Monopods / Tripods
- Gimbals (like the DJI Ronin Mini 3)
- DJI Mic 2
- Additional lighting equipment
- Speakers (JBL Clip 4 / JBL Charge 5)
- Harnesses and camera straps
- Sewing Kit & Nail Kit
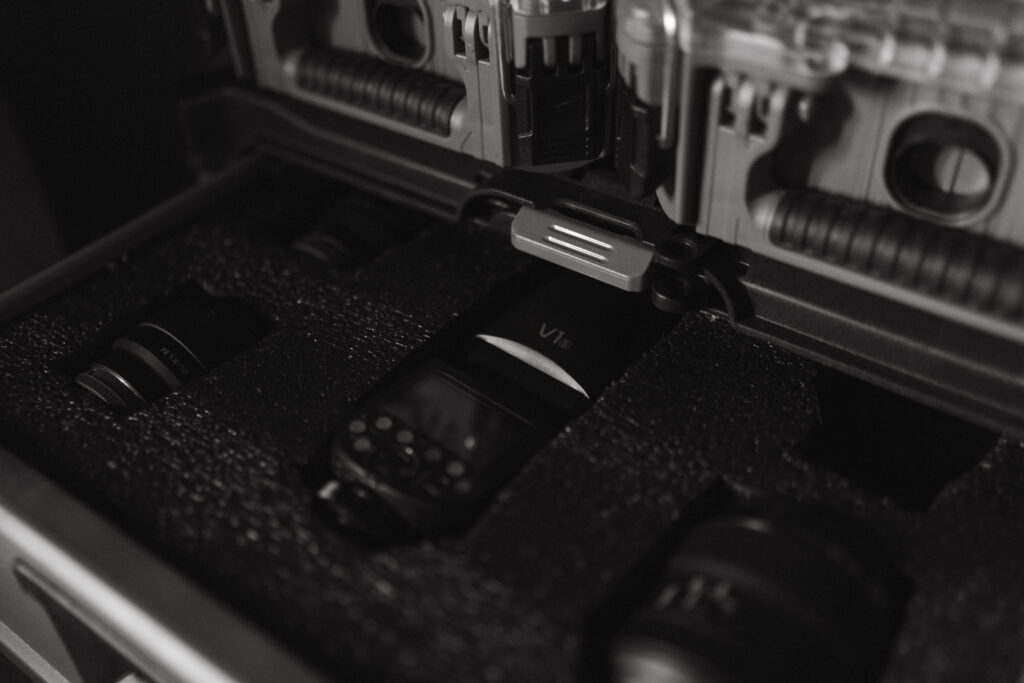
Packout Drawers with Foam Inserts
The two-drawer or three-drawer models are ideal for organizing delicate equipment like lenses and cameras. Here’s what I keep in each drawer for easy access:
- Top Drawer (Lenses)
- Sony G Master 24-70mm f/2.8
- Sigma 35mm f/1.4
- Sony G Master 85mm f/1.8
- Sony 50mm f/1.8
- Godox V1S Flash
- Bottom Drawer (Camera Bodies and Extras)
- Sony a7IV
- Sony a7III
- Fujifilm Instax Mini Evo
- Filters for different effects and lighting conditions
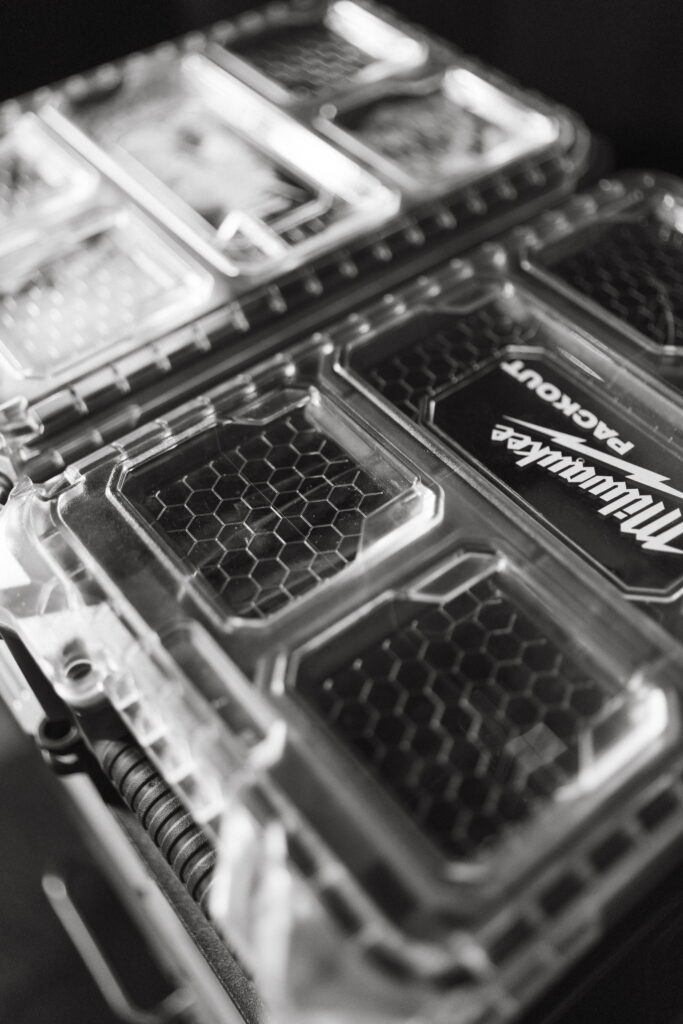
Organizer Bins
Small organizer bins are perfect for quick-access items. These shallow compartments keep essentials on hand and prevent small items from getting lost:
- Batteries (fully charged vs. needing recharge)
- Memory cards
- Ray-Ban Meta glasses
- Chargers, lens wipes, and Instax film
- Safety pins and boutonniere pins
Step 2: Adding Customization and Accessories for a Perfect Fit
Foam Inserts for Extra Protection
Custom foam inserts keep cameras, lenses, and delicate accessories secure. I use closed-cell foam sheets for a snug, protective fit and arrange each piece based on frequency of use. My husband used a soldering iron to make precise foam cuts for each item.
Labels for Each Compartment
Label makers are a huge help! I label each drawer, organizer bin, and compartment so that I (and my assistants) know exactly where each item belongs. This is a game-changer when you’re packing up quickly after a shoot.
Step 3: Organizing Accessories and Extras for Flat Lays
I also keep a few decorative and functional items handy for flat-lay shots and on-the-go touch-ups:
- Small Part Organizer (Details)
- Ring boxes, linens, and dishes for flat lays
Bonus Tips for Maintaining Your Milwaukee Packout
Regular cleaning, monitoring foam inserts for wear, and keeping compartments dry will extend the lifespan of your Milwaukee Packout Photographers Edition.
With this setup, your Milwaukee Packout is now the ultimate photographers’ toolkit, perfect for on-the-go organization and efficiency.
Click here if you want to know where to get the whole kit!


