Milwaukee Packout for Photographers & Videographers: Ultimate Gear Organization
When you’re out on a wedding shoot, having an organized and efficient setup is essential. For photographers looking to streamline their gear, the Milwaukee Packout Photographers Edition is a game-changer! Originally designed for contractors, this durable, modular storage system is perfect for photography equipment with a few tweaks. Here’s how to set up your Milwaukee Packout for photography gear instead of tools, from choosing components to customizing inserts.
Why Choose the Milwaukee Packout for Photographers Edition?
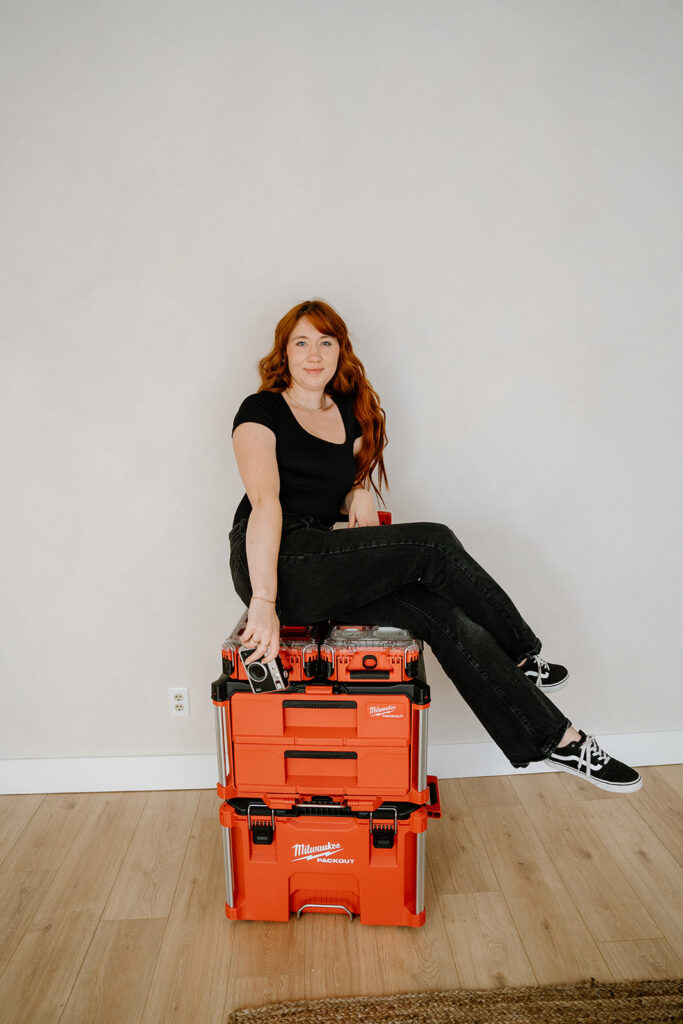
The Milwaukee Packout Photographers Edition is a versatile, stackable system… system is a modular, stackable storage solution designed to withstand heavy-duty use, which means it’s built to last. It’s weather-resistant, durable, and offers versatile organization options, making it ideal for photographers who need efficient gear access and portability. You can stack and lock different-sized boxes, drawers, and bins for a setup that fits your specific needs and photography style. Watch this quick video for a full price breakdown of each component and how to customize your own Packout setup!
One of my favorite features is the dedicated space for each item, so you won’t find yourself tossing batteries or accessories into your bag to sort out later.
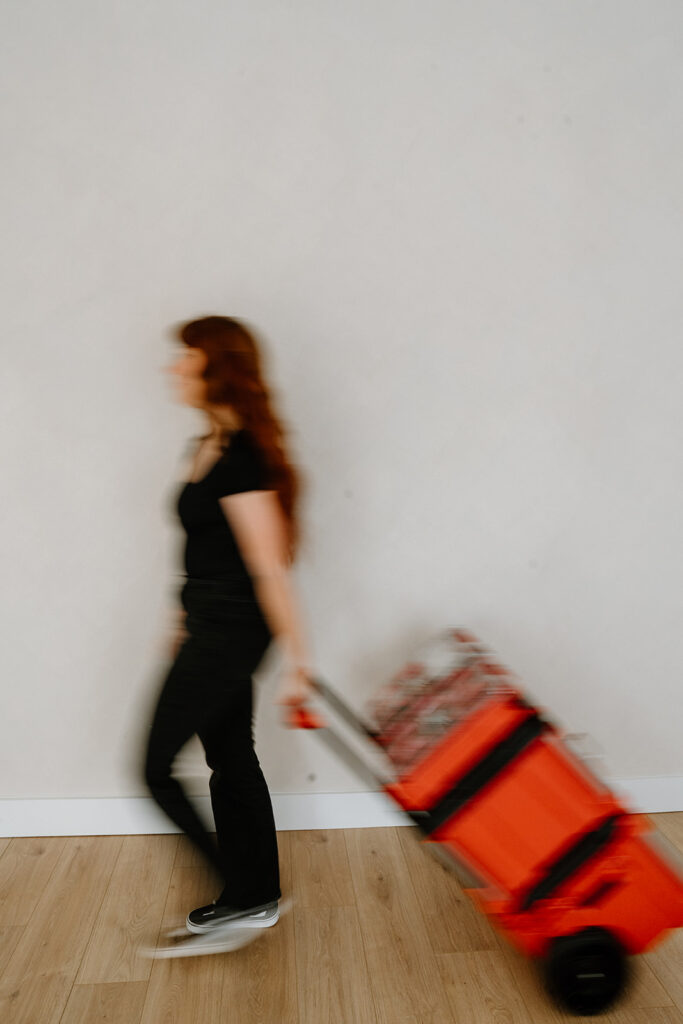
As someone who often shoots hybrid weddings, I used to juggle a camera bag, a duffle bag, and two tripods, leaving my arms tired and my back aching by the end of the day. Not only was it cumbersome, but my small items often got lost in the chaos—nothing was neatly organized. I even considered buying a wagon, but I realized that would only lead to the same disorganized mess with no designated spots for my gear. The Milwaukee Packout has completely changed my workflow, allowing me to focus on what matters most: capturing unforgettable moments.
Step 1: Choose Your Base Milwaukee Packout Components
The Packout line includes several styles and sizes of boxes, totes, and organizers, so choose a few that fit your gear needs:
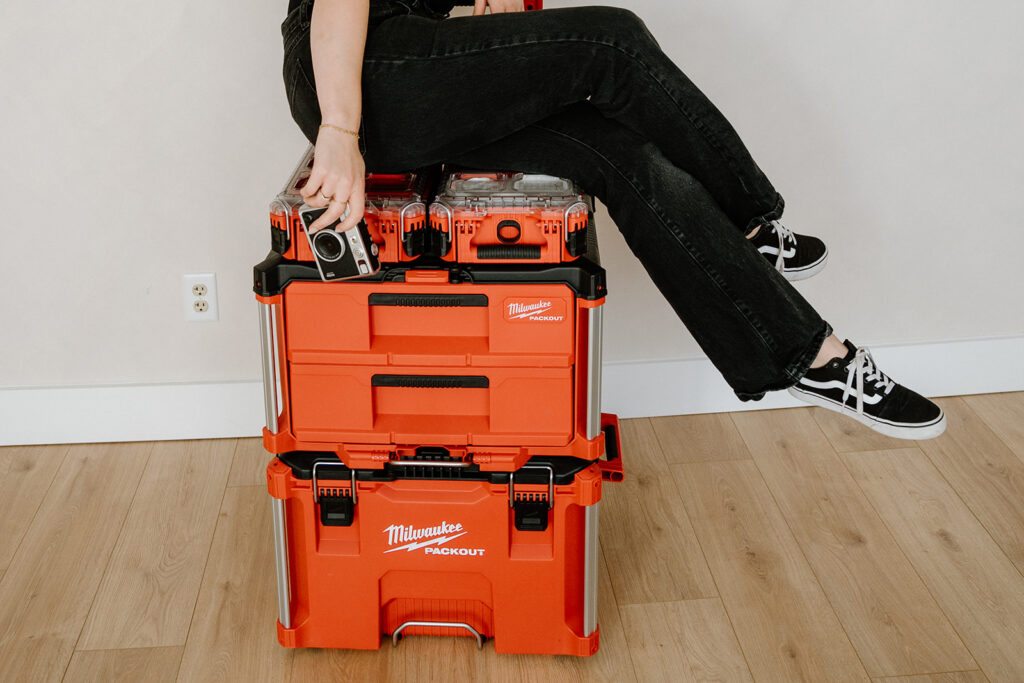
- Rolling Toolbox : This larger toolbox is excellent as a base for cameras, lenses, and larger items. It’s spacious and provides a strong foundation for stacking additional boxes.
- Packout Drawers: The two-drawer or three-drawer models are perfect for organizing smaller items like filters, batteries, memory cards, chargers, and cables.
- Organizer Bins: Consider adding smaller, shallow bins for things like extra screws, tools, or even snacks. These are easy to open on location and keep your essentials within reach.
Step 2: Foam Inserts for Custom Gear Protection
Once you have your boxes, the next step is setting up custom foam inserts to protect your equipment. Here’s a simple guide on how to get the best fit for your gear:
- Choose Your Foam Type: There are different types of foam you can choose from for your Packout, but pluck-and-pull foam or closed-cell foam sheets work best for custom inserts. You can buy these online or at hardware stores.
- Map Out Your Layout: Place your equipment in the box as you’d like it arranged. Try different layouts to see which configuration maximizes space and gives you quick access to your most-used items. Make sure each camera body, lens, and accessory has its own designated spot.
- Trace and Cut: Use a sharpie to trace each item on the foam, leaving a bit of buffer space around each piece. Use a craft knife for precise cuts, starting small and testing the fit as you go. My husband used a soldering iron for even more precise cuts, which worked great!
Step 3: Accessorize for Maximum Efficiency
Once your foam inserts are complete, add a few organizational accessories to keep everything in place:
- Dividers for Drawers: Use dividers or small containers within the drawers to separate batteries, memory cards, and other small essentials.
- Label Everything: Use a label maker to mark each compartment, drawer, or item’s spot. This step ensures everything goes back in its place, and it’s especially useful if you have assistants helping pack up gear at the end of a shoot.
Step 4: Test and Adjust on the Go
Once everything is set up, take your new Packout to a session and put it through its paces. Notice any spots that could use adjusting? Notice any spots that could use adjusting? I found it incredibly useful to have separate spots for fully charged batteries and ones that need recharging—keeping them organized makes it so much easier to grab what you need on the fly!
Bonus Tips for Maintaining Your Packout
- Clean Regularly: Dust and dirt can build up, so make it a habit to clean your Packout and foam inserts every few months.
- Keep It Dry: Though the Packout is weather-resistant, try to keep foam inserts dry to prevent mildew.
- Check for Wear: Look for signs of wear on the foam, as it might need replacing over time to keep your gear safe.
With your customized Milwaukee Packout, you’ll have everything you need organized, secure, and ready to go. No more fumbling for lenses, and no more sore backs from multiple bags. Just efficient, portable, and stylish gear storage that lets you focus on what you do best—capturing unforgettable moments.
For a full setup guide, including choosing components and custom inserts, check out our in-depth post: Milwaukee Packout Setup Guide for Photographers.


